Summarizing meeting notes is obviously a very important task for business professionals. But manually summarizing notes can be a time-consuming and tedious process.
It’s 2023. Let’s automate the process with AI.
In this guide, I’ll show you how to use Zapier to automate the summarization of your notes. We’ll use Evernote to store your meeting notes, GPT-3 to generate a summary of those notes, and Slack to automatically receive those summaries in your Slack channel of choice.
Before we get started, a little about the tools:
about the tools:
Zapier is a cloud-based automation tool that allows users to connect their favorite apps and services, and automate tasks between them without any coding skills.
Evernote is a note-taking app that enables users to create, organize, and share notes, files, and other types of content across multiple devices and platforms.
GPT-3 (Generative Pre-trained Transformer 3) is a state-of-the-art language model developed by OpenAI that uses deep learning techniques to generate human-like text based on a given prompt or context.
Slack is a popular team communication platform that enables teams to communicate and collaborate in real-time through channels, direct messages, and integrations with other apps and services.
With that out of the way, let’s get started.
Step 1: Set up your Evernote Trigger
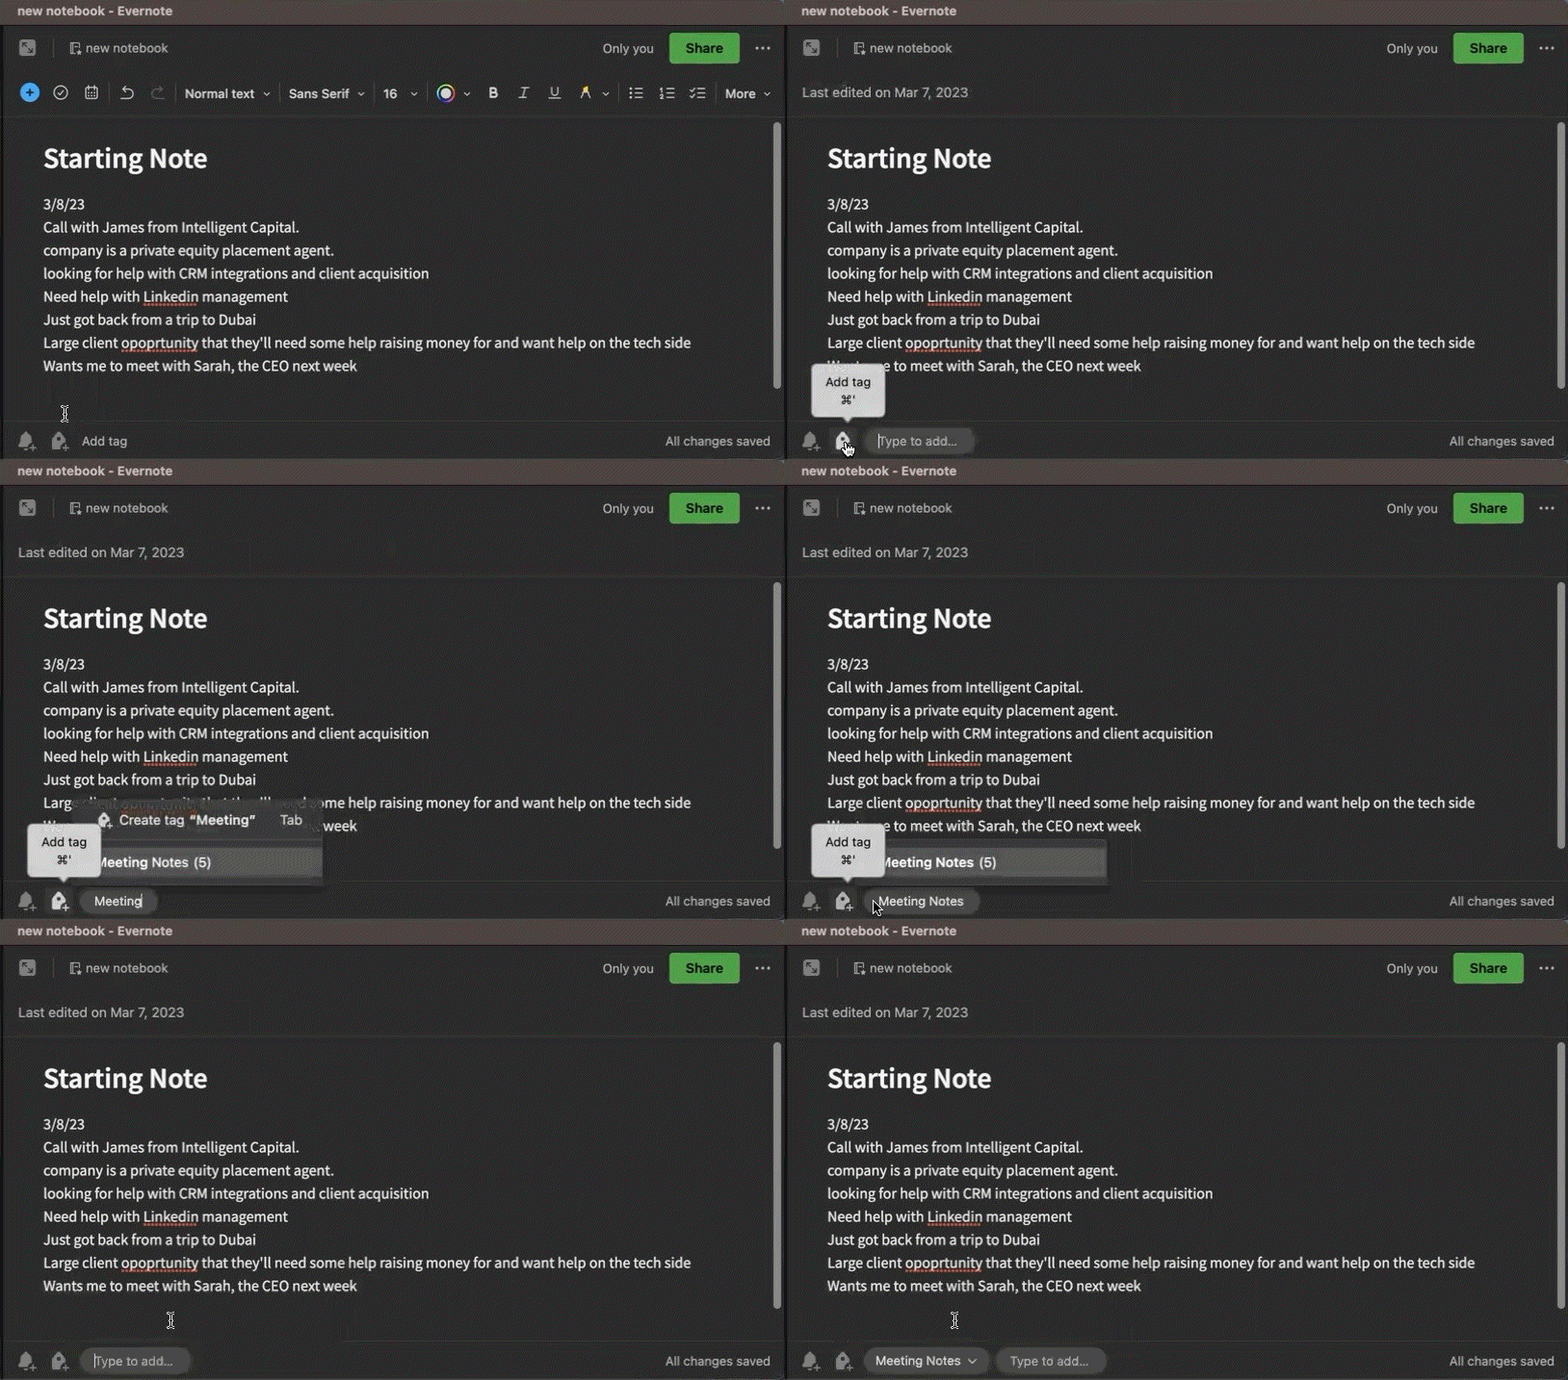
First thing is go to Evernote and write an example meeting note (it’s ok if there are typos, we’ll have GPT-3 fix them later). Then tag your note with “Meeting Notes” or “New Note.” We’ll use “Meeting Notes” in our example.
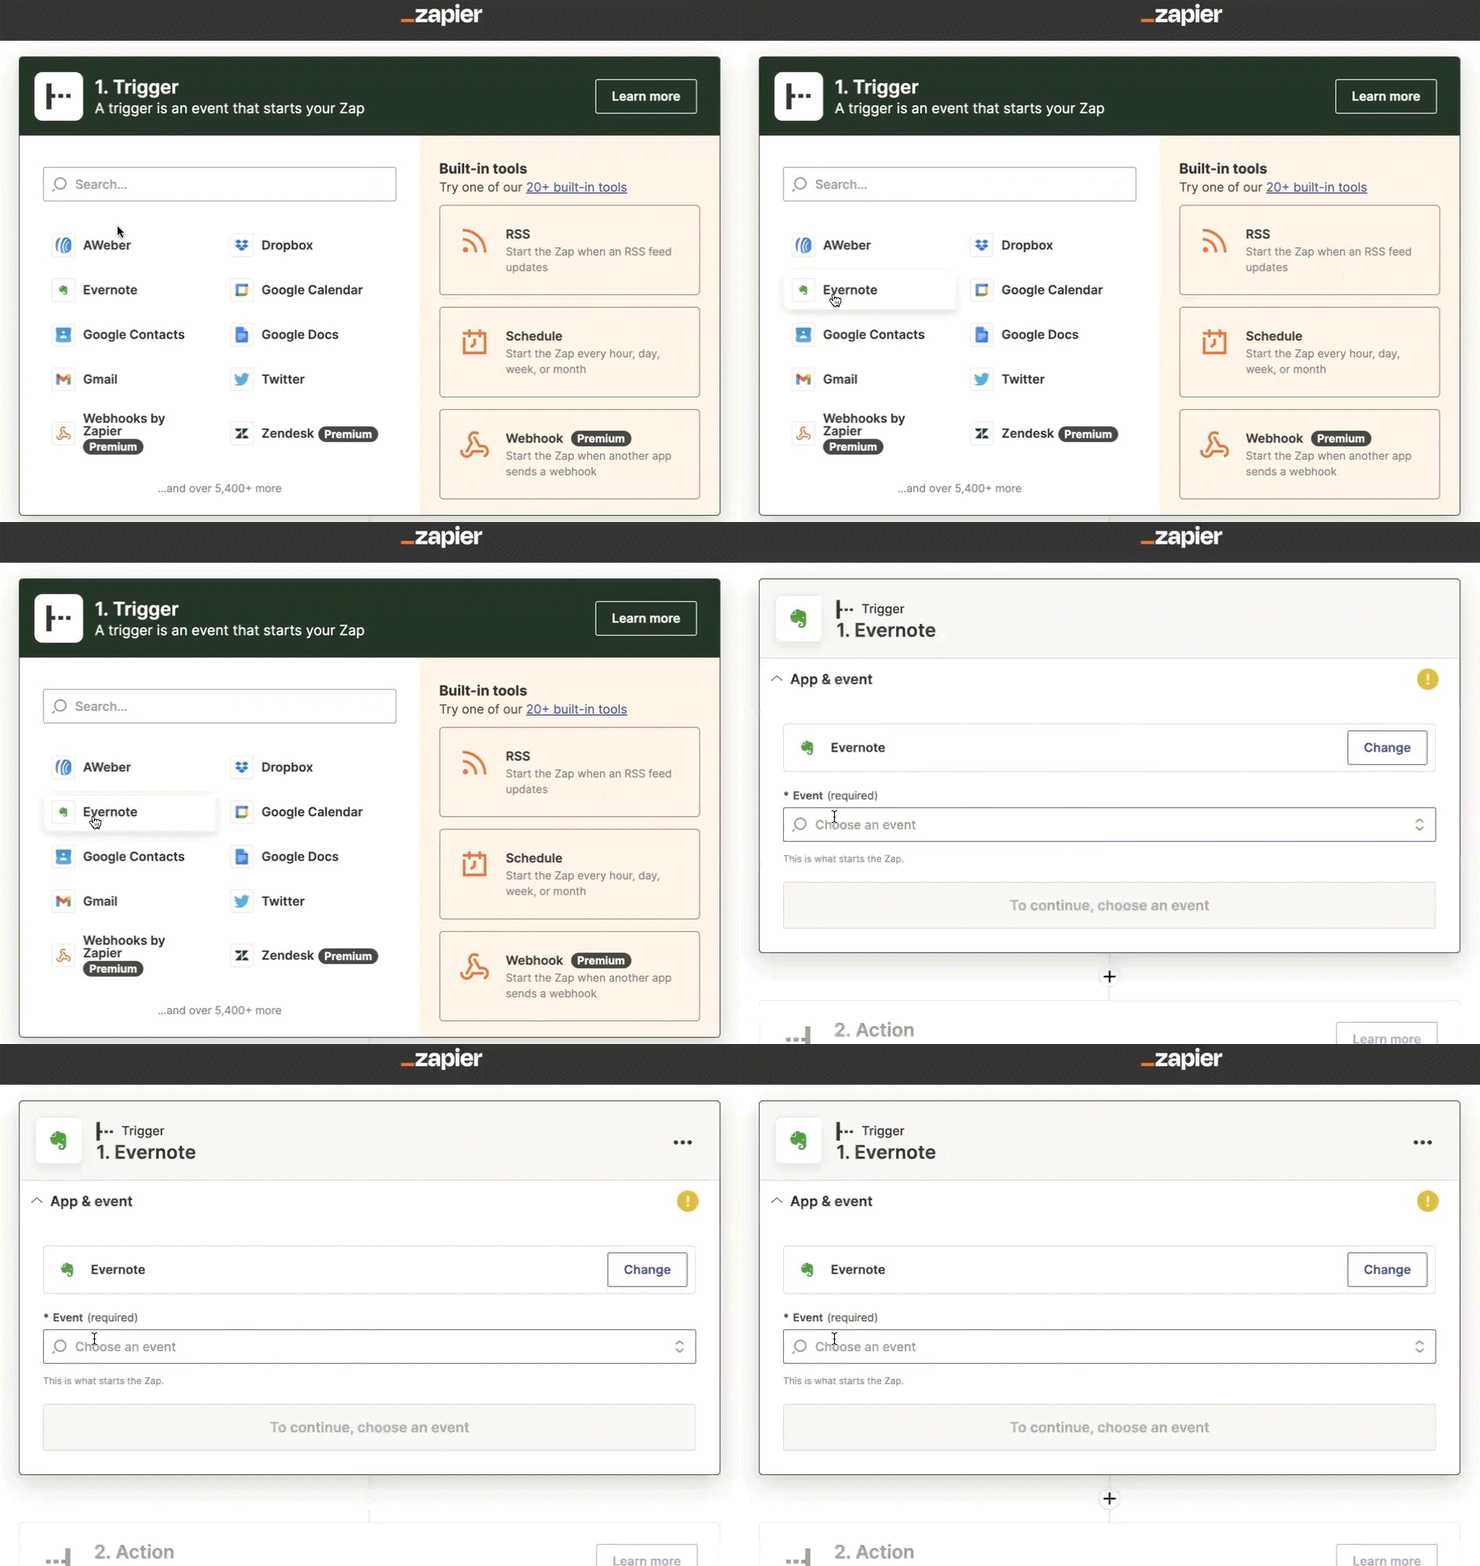
Then go to Zapier and login or create a free account.
Then Click “+ Create Zap.”

Choose Evernote to connect to your Evernote account.
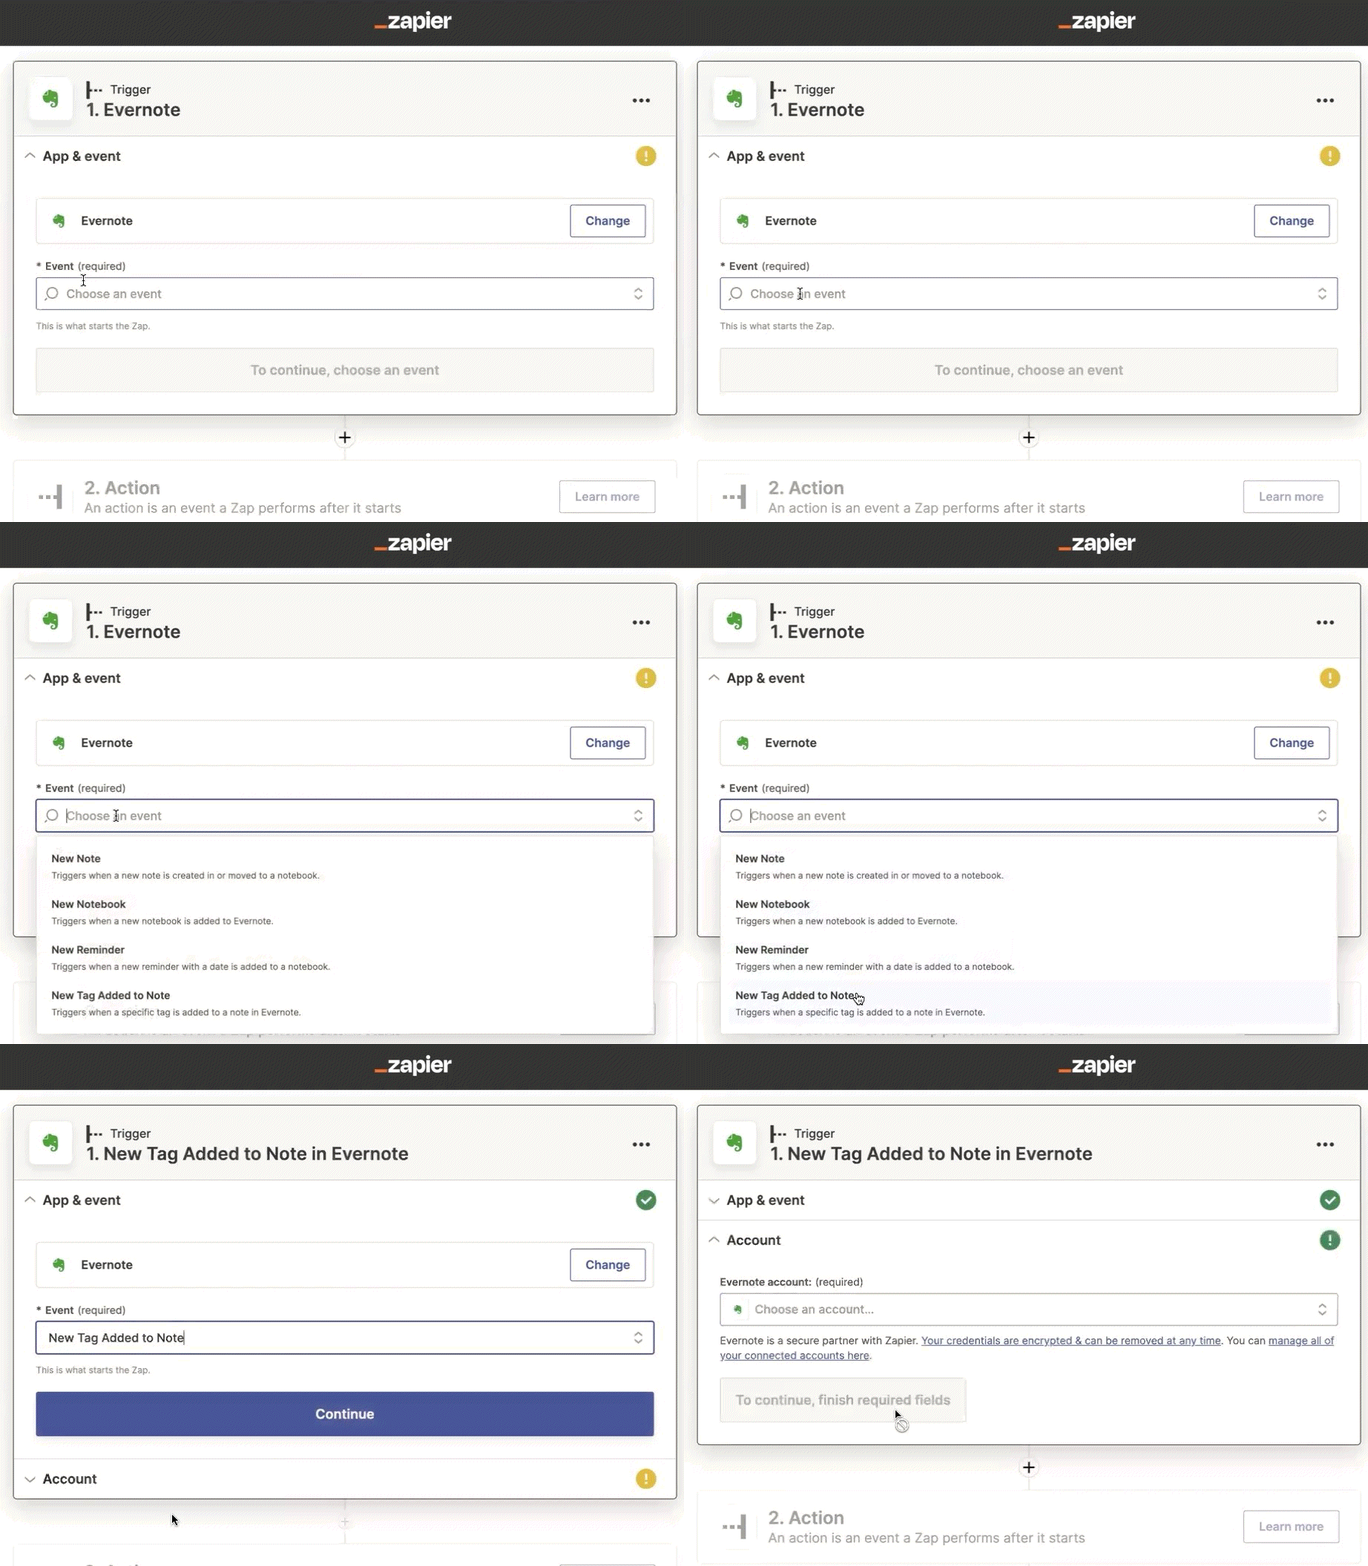
For Event choose “New Tag Added to Note.”
Click Continue.
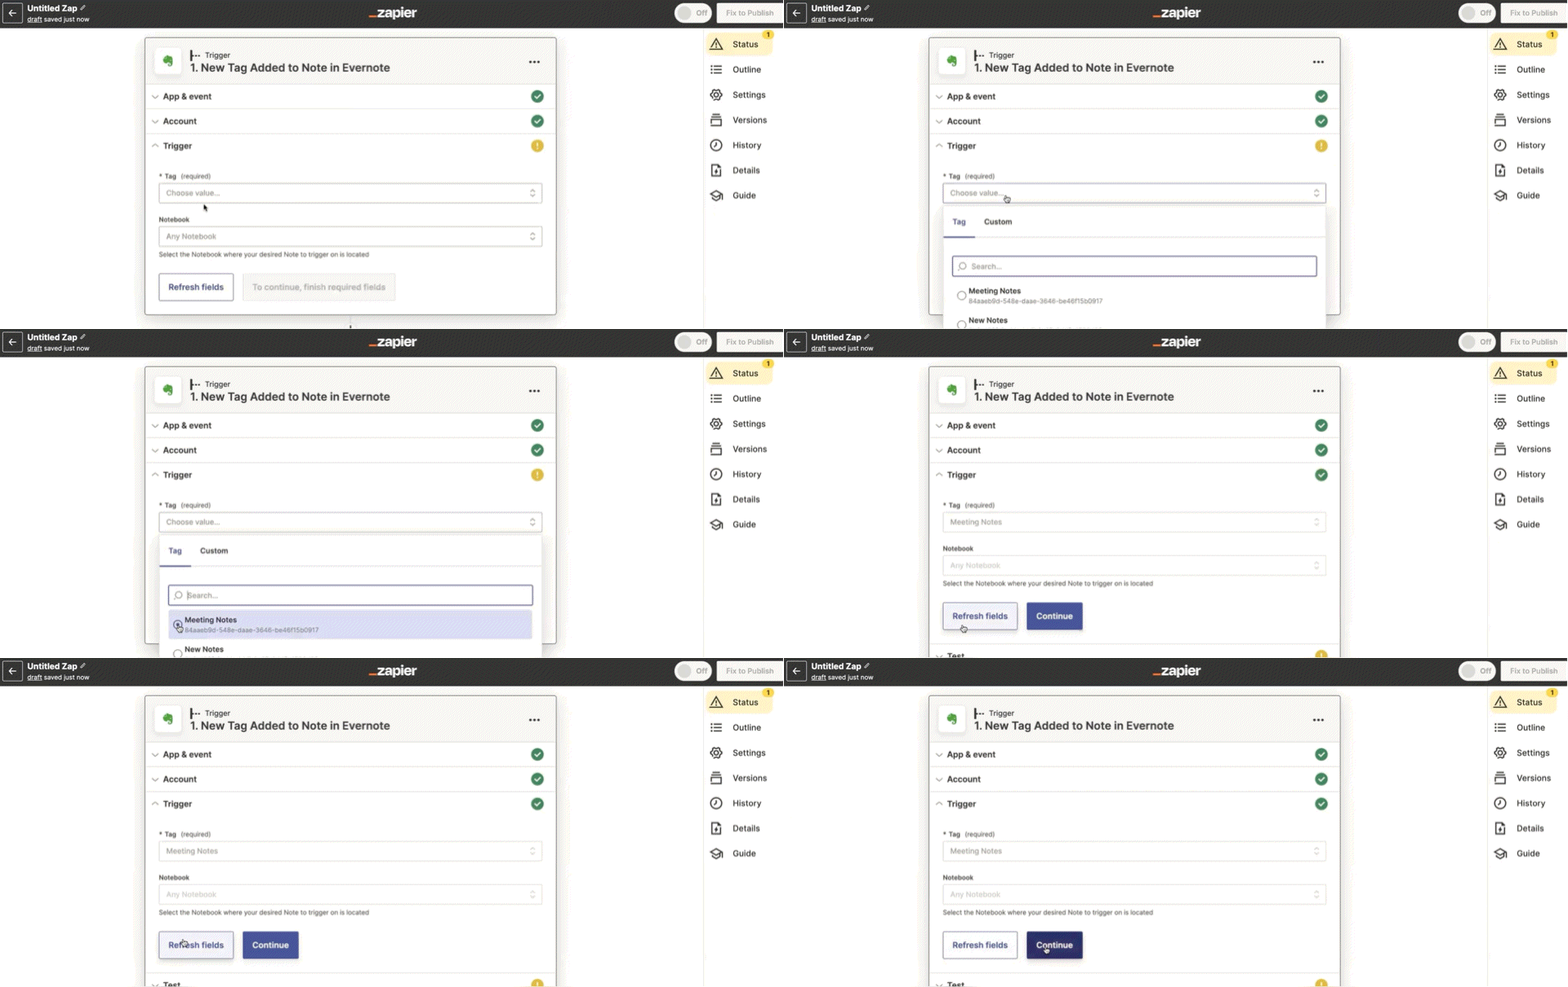
Now choose the tag: “Meeting Notes,” or whatever tag you decided on.
Click Continue.
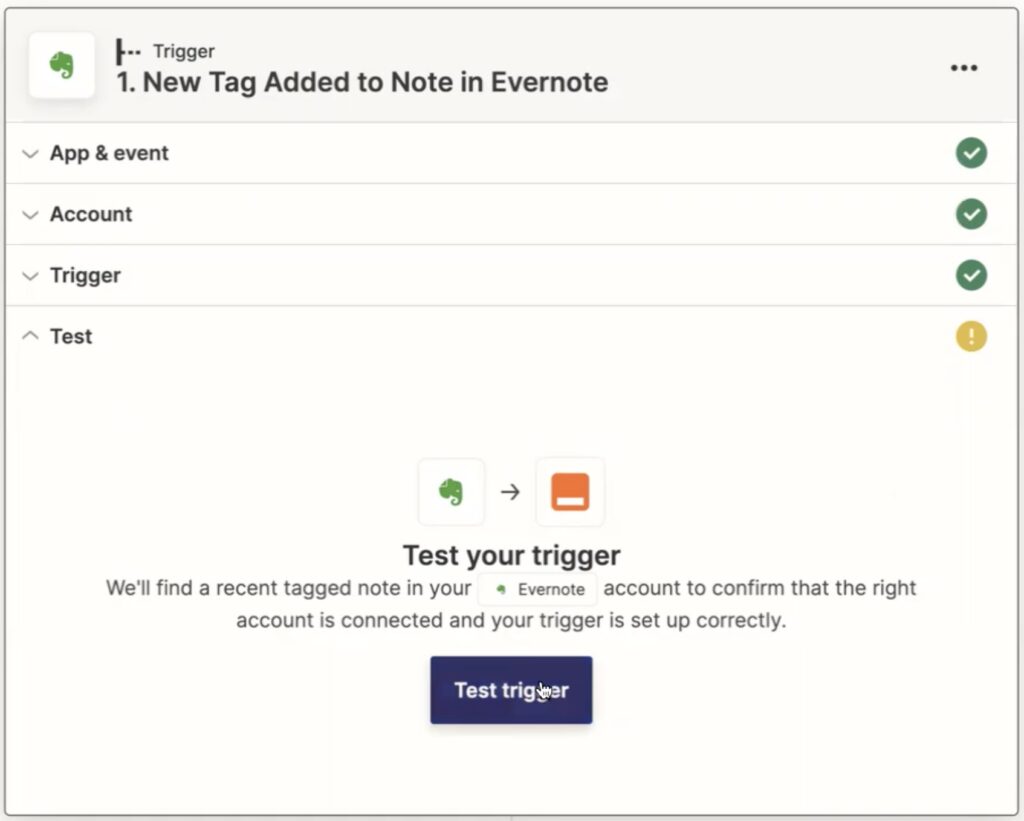
Now Test your Trigger.
You should see the note that you created and tagged.
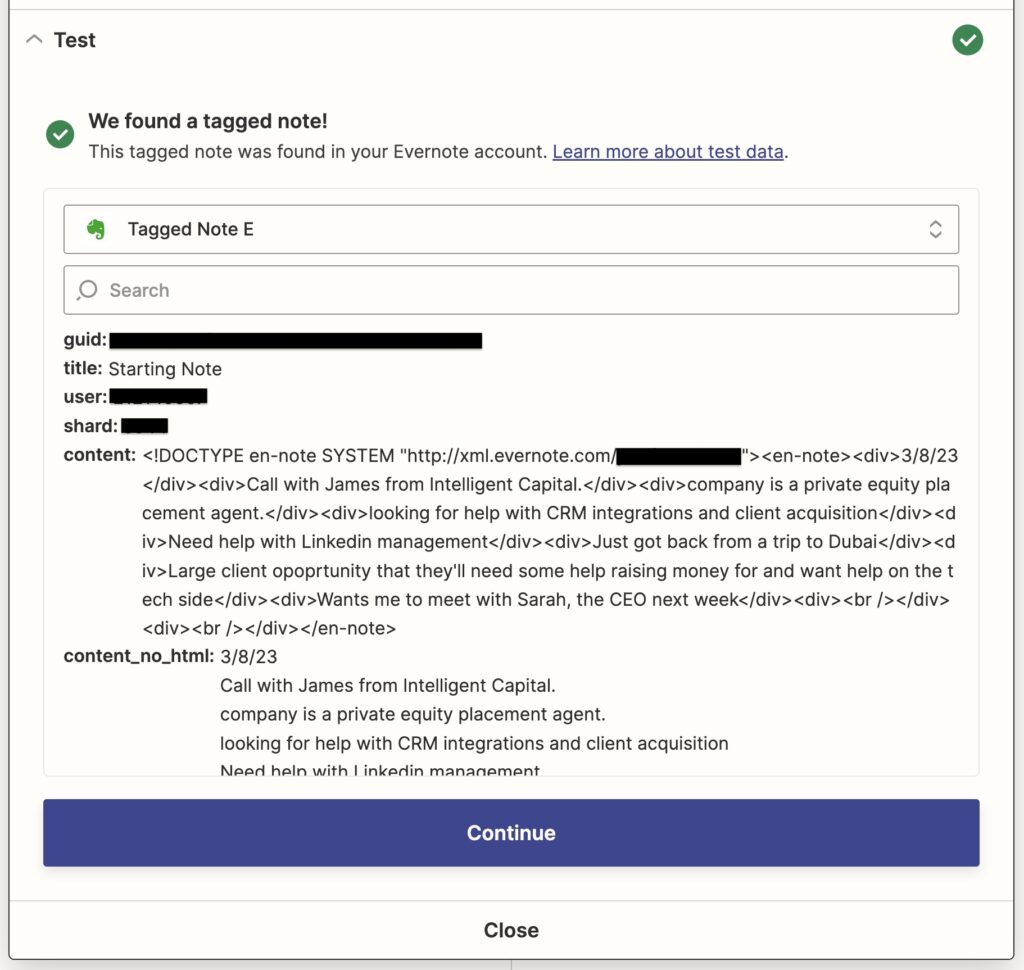
Click Continue to move to Step 2.
Step 2: Set up your GPT-3 Prompt Action
Go to https://platform.openai.com/ and in your settings click View API Keys.

Click Create Secret Key and Copy the API key.
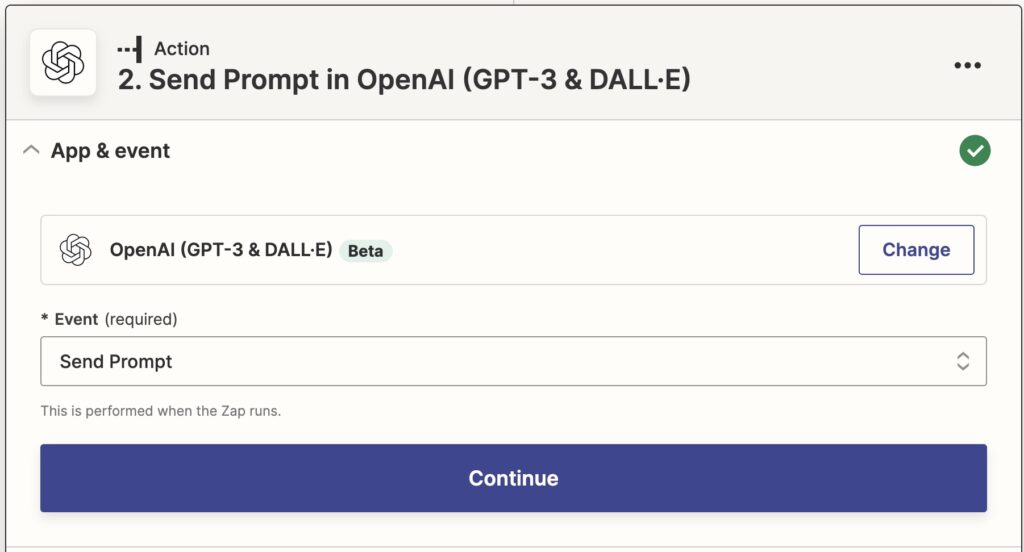
Now go back to your Zap in Zapier and select Open AI as your action app and select Send Prompt as your Event.
Click Continue, and then Sign In. Then paste your API key.
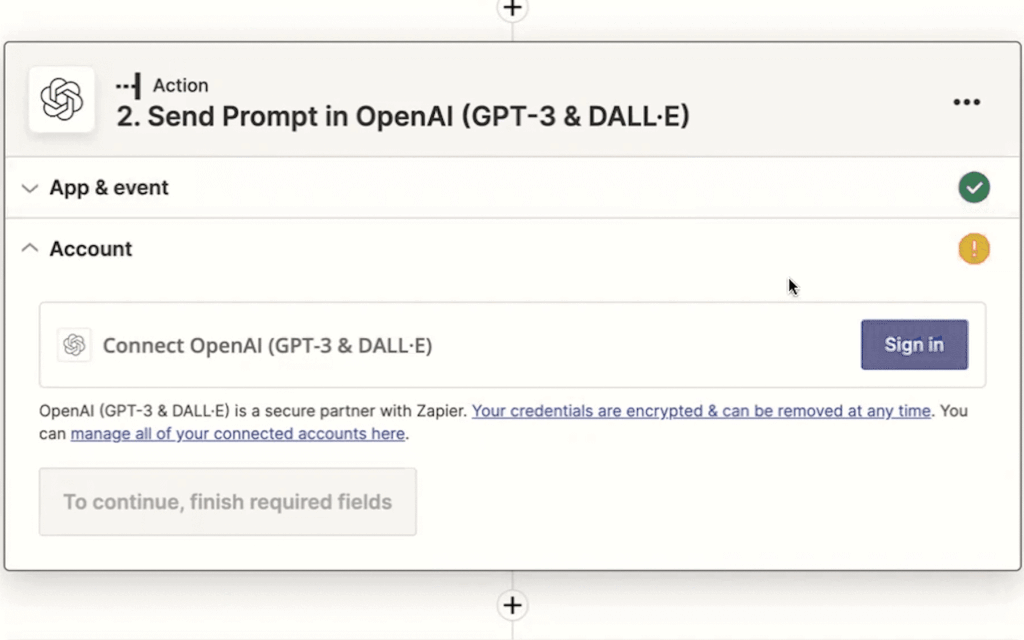
Once you’ve pasted that, click Continue.
In the Prompt section, input your prompt. The other options you can leave as is, or adjust as you’d like.
You can use the following prompt:
After entering the prompt, pull in the Evernote note content by clicking the whitespace in the Prompt field and choosing “Content Text.”
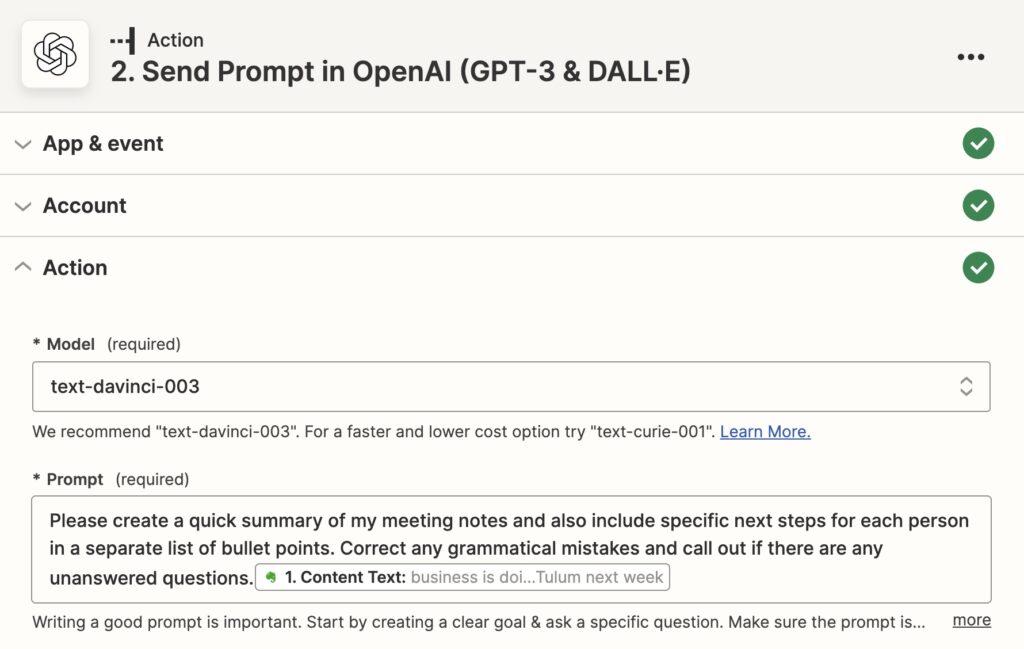
Make any other adjustments at your discretion, and then click Continue.
Now run your test. You should see the summary appear.
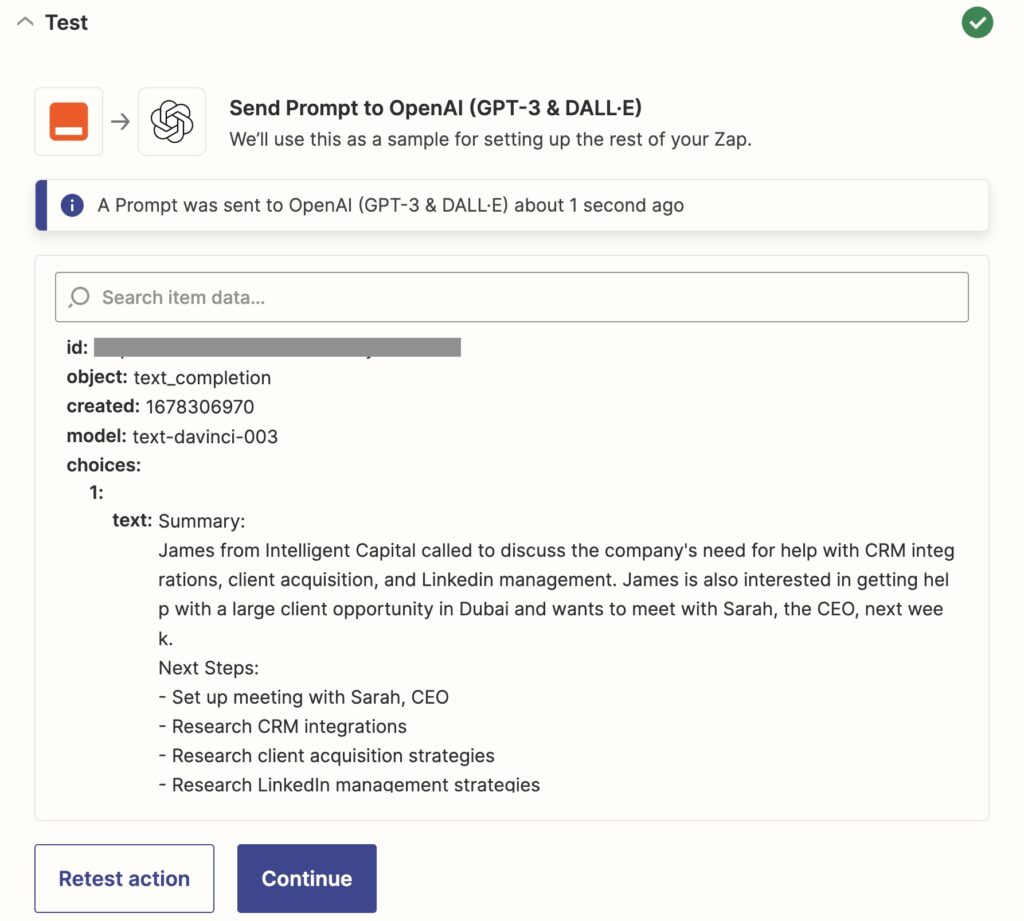
Click continue to move on to the final step.
Step 3: Set up slack message action
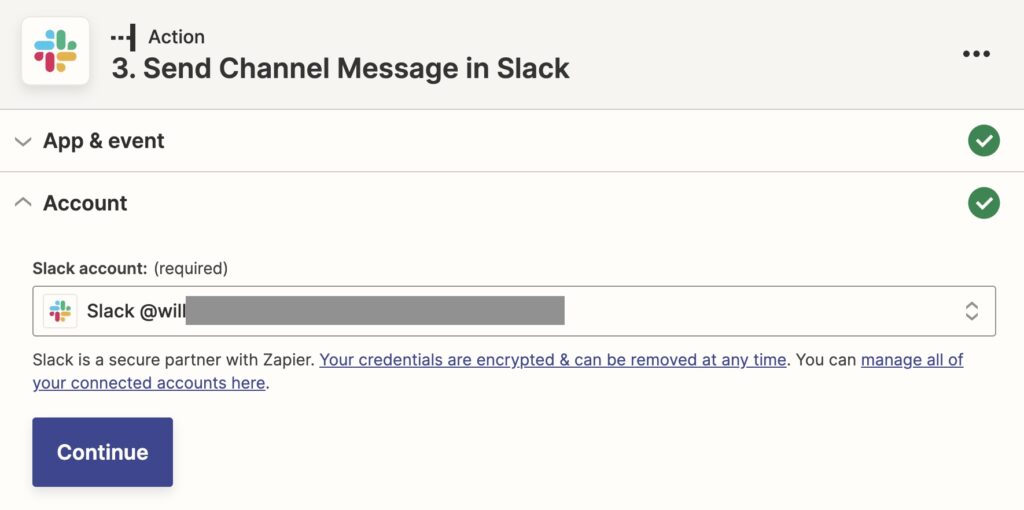
Choose Slack for your action app and Send Channel Message for your event.
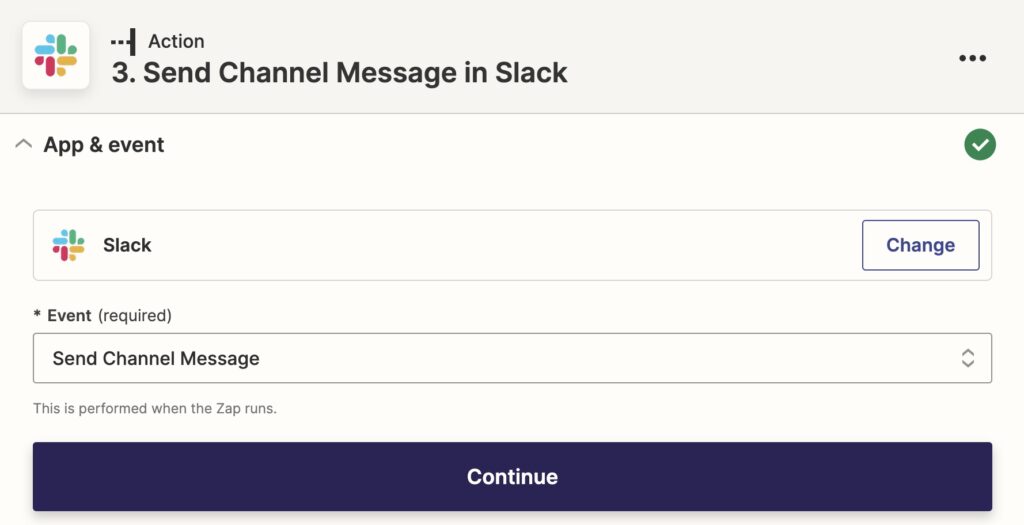
Click Continue, and then sign into your Slack.
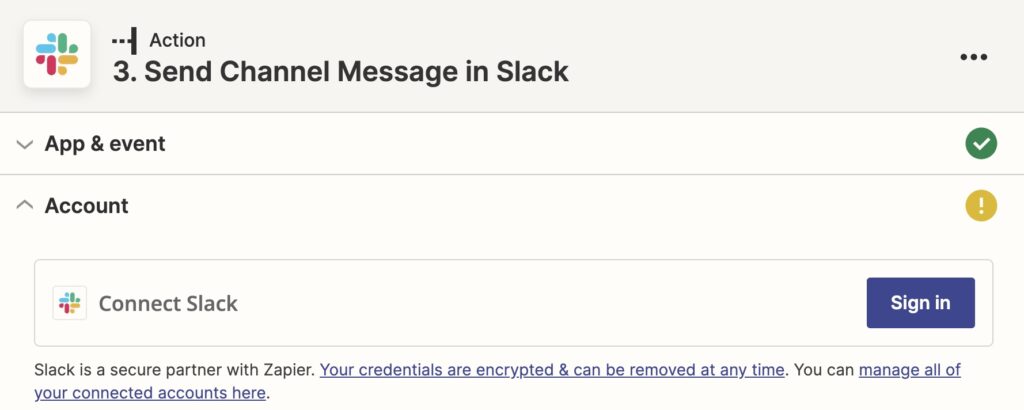
Once signed in, click Continue.
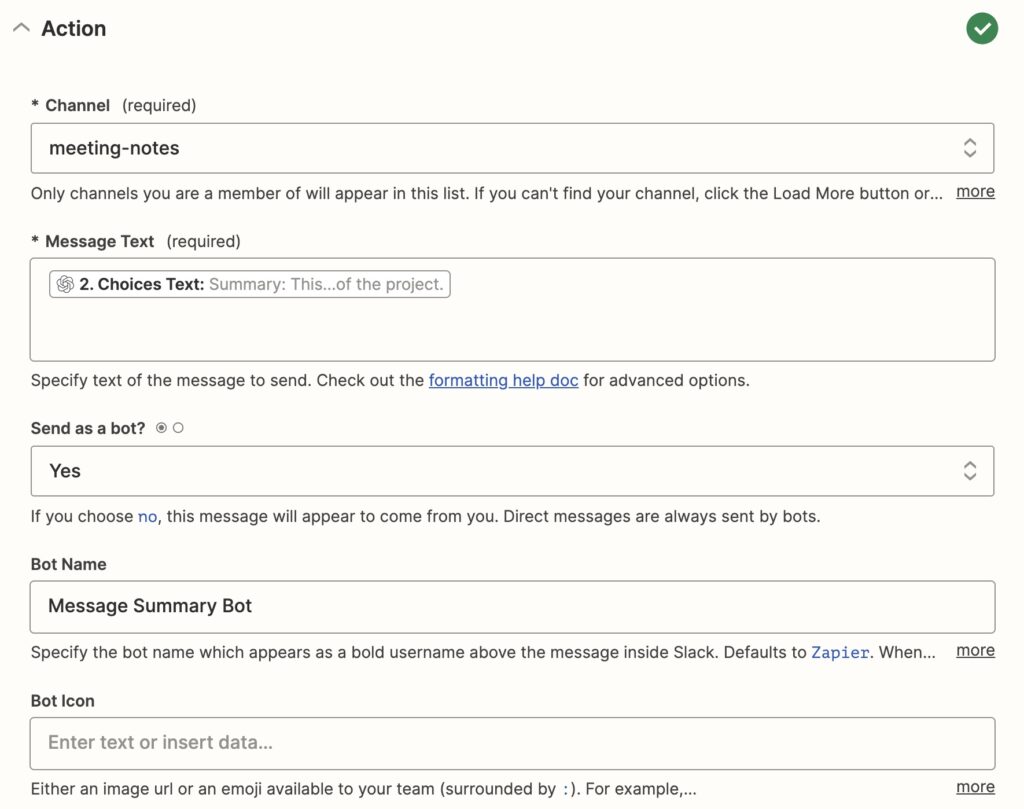
We’re almost there. Choose the Slack Channel you’d like this message to be delivered to. Mine’s called “meeting-notes.” For Message Text, choose Choices Text. Then choose any other settings you’d like, and click Continue.
Now run your test. You’ll see the message appear in your Slack channel like so:

Going forward, whenever you input meeting notes into an Evernote note, simply tag it with “Meeting Notes” (or whatever you chose as your tag), and it will be summarized by GPT-3 and placed into the Slack channel that you selected.
We hope this step-by-step guide has been helpful in showing you how to set up this automation, and has piqued your interest in continuing to automate processes with Zapier.
Credits: I want to thank Elena Alston of Zapier for the idea. She writes about this Zap in her own style here.


