Introduction
LinkedIn Sales Navigator is a powerful tool for sales and marketing professionals looking to discover new leads, build relationships, and close deals. One of its most valuable features is the ability to upload your account list, which helps streamline your sales prospecting efforts and focus on high-priority targets. In this blog post, I’ll walk you through the steps of uploading your account list to LinkedIn Sales Navigator and discuss some best practices to make the most of this feature.
Step 1: Make sure you Have the Right Linkedin Subscription

Step 2: Prepare your Account List in Excel
Before you can upload your account list to LinkedIn Sales Navigator, you’ll need to prepare a CSV file with the following columns:
- Account Name (required)
- Website (optional)
- Industry (optional)
- City (optional)
- State/Province (optional)
- Country (optional)
- Postal Code (optional)
- Ticker Symbol (optional)
- Linkedin Company ID (optional)
- Linkedin Company URL (optional)
Make sure your file is saved in the CSV (comma-separated values) format and doesn’t exceed 1000 rows. Below is an example of how it could look:

Notice that the Account Name is included for all of the accounts. The other fields are optional, but I recommend filling them out to the best of your ability to improve the accuracy of the match with Linkedin.
Step 3: Access the Account List Import Feature
Inside Linkedin Sales Navigator, click Accounts. Then click “See account lists” on the right:

Step 4: Upload your CSV File
From the Account List menu, click “Upload List” on the right:

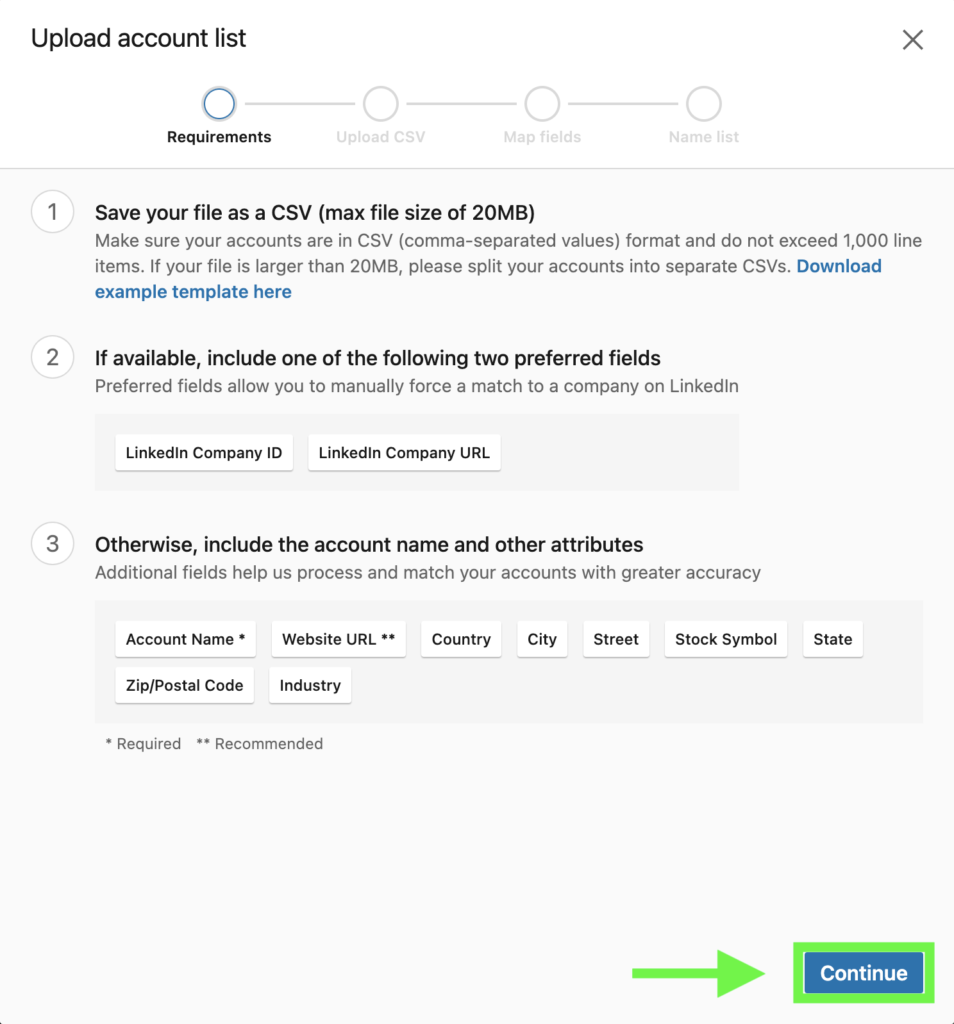
Read the Upload Account List Requirements and click Continue:
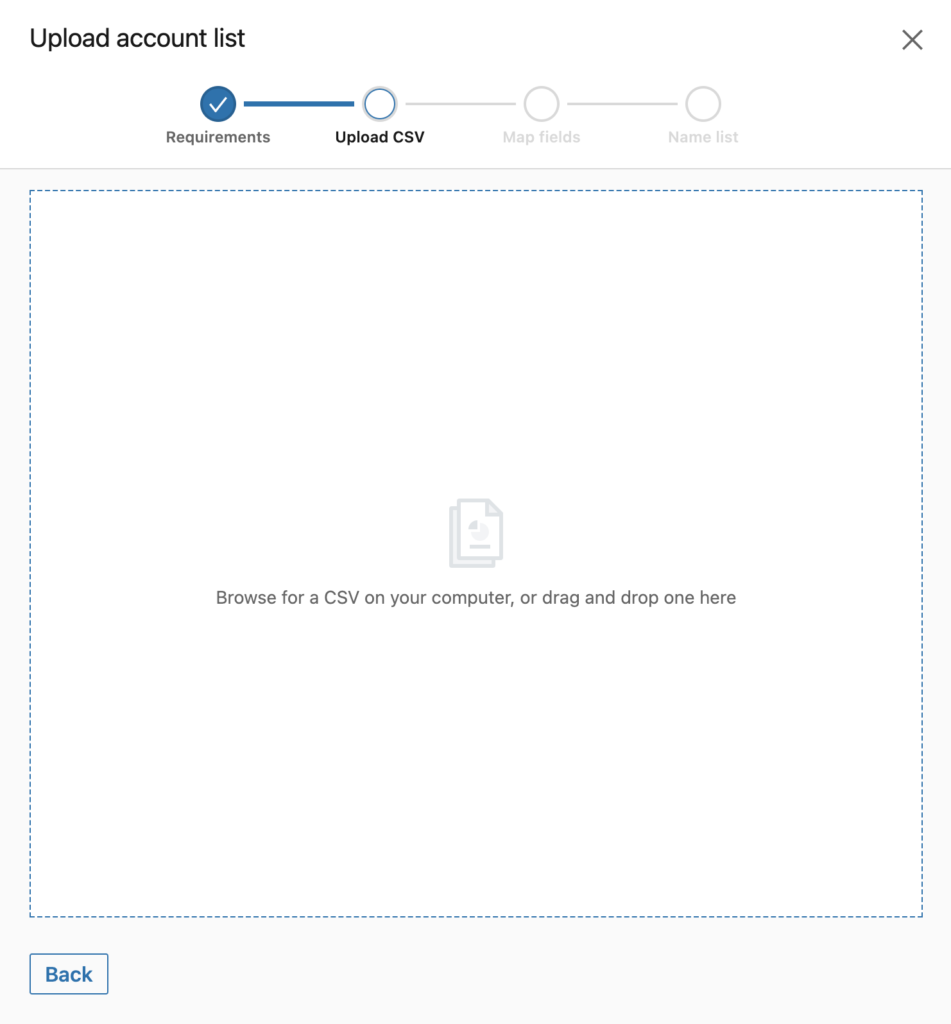
That opens up the Upload CSV dialogue where you can upload your CSV file. Upload your file by either dragging and dropping into the white box or by clicking anywhere in the white box and browsing your computer for your file.
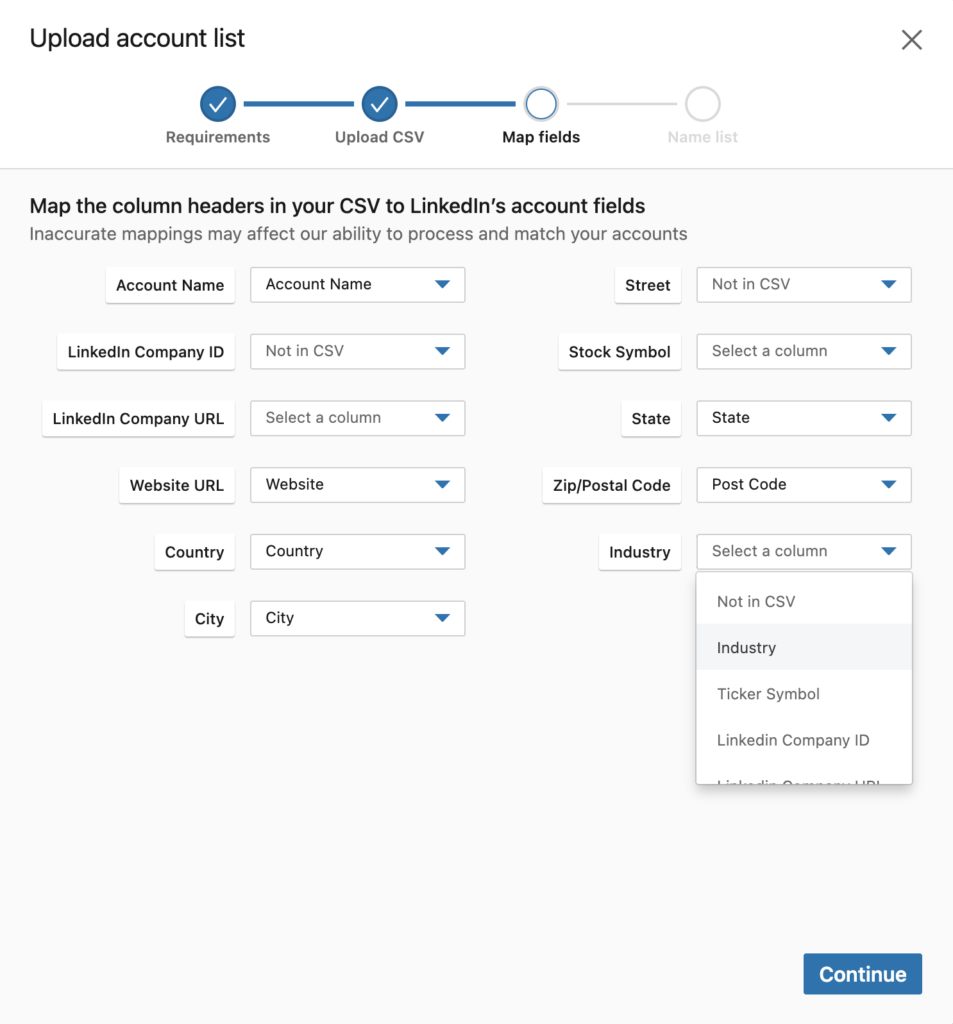
Once you’ve uploaded your file, you’ll be brought to the Map fields section. Here’ where you’ll map the column headers in your CSV file to Linkedin’s account fields, so that Linkedin can read your file and match the data for you.
Click into each dropdown and choose the column header that corresponds to the data field.
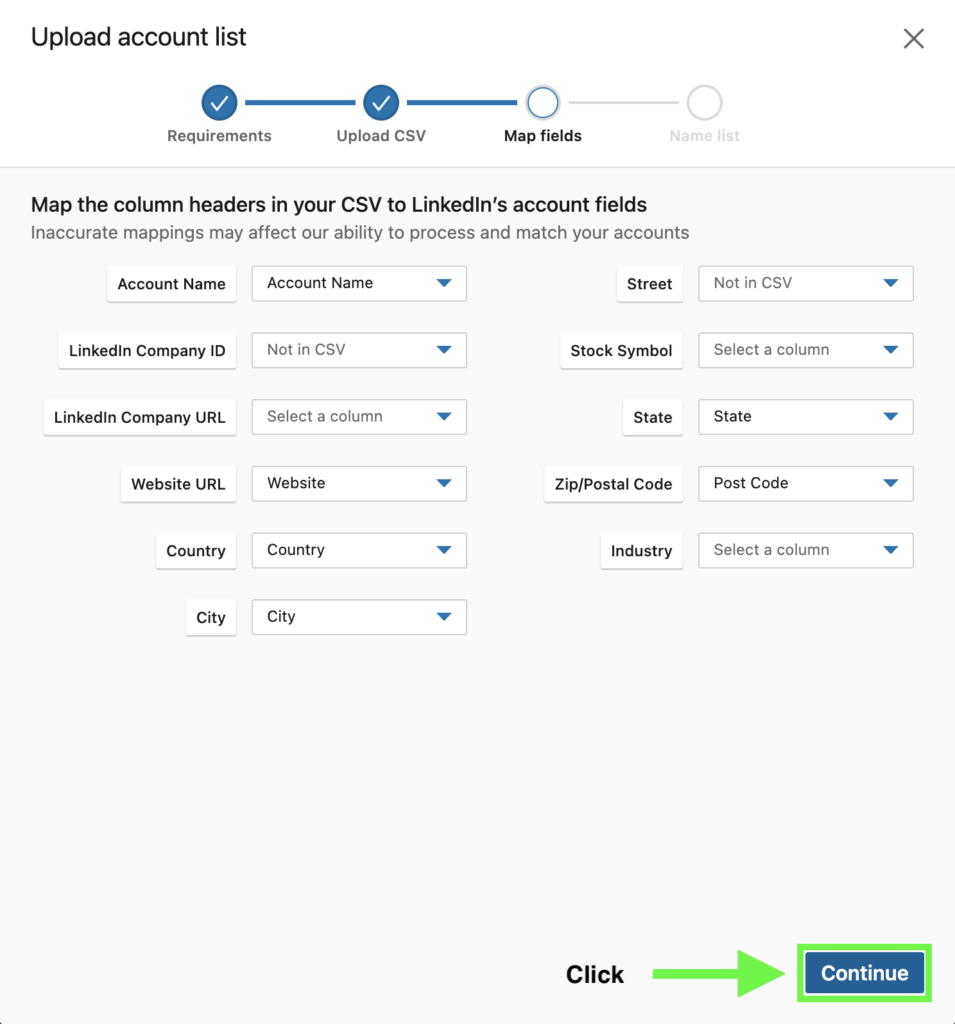
Once you’ve mapped each data field, click Continue:
Then name your list and optionally provide a description.
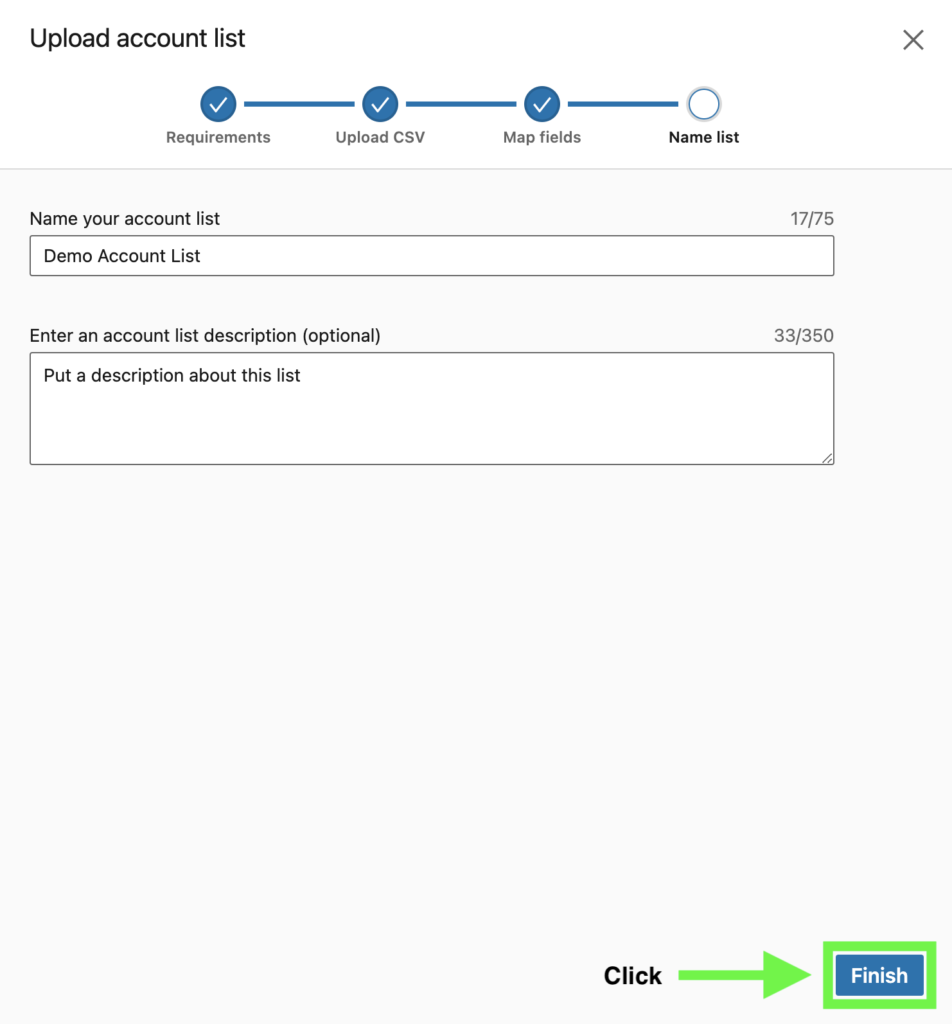
You’ll then see the upload in progress. It could take a few minutes if your list is long.

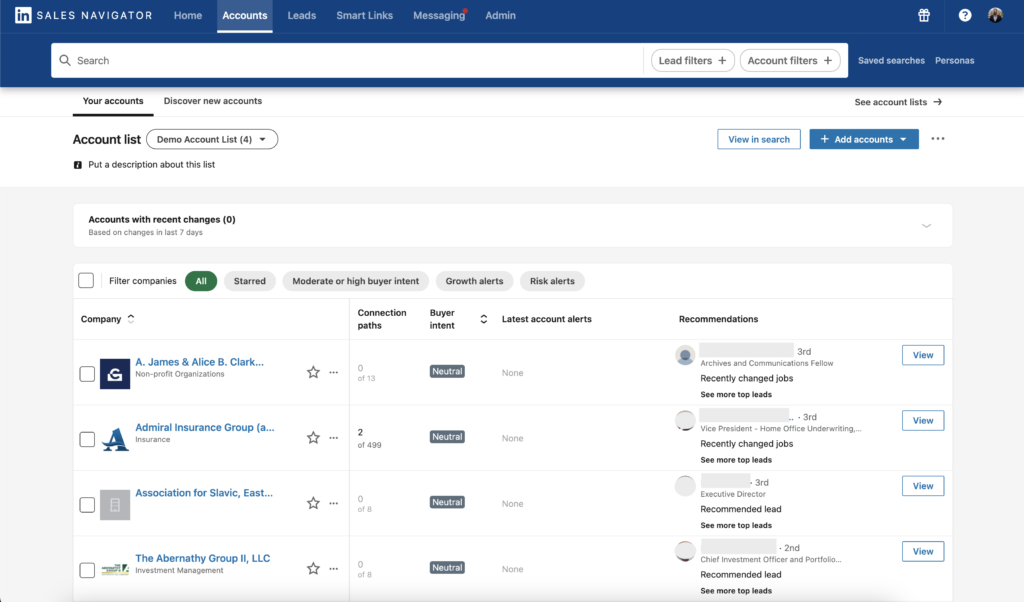
Once your list has uploaded, click on the list name:

Now you’ll see the account names on the left, which you can click into. You’ll also see recommended contacts from these accounts on the right (I’ve redacted names & images for privacy).
Using Your Account List for Prospecting
Now that you’ve got your account list into the Sales Navigator, you can use it as a filter in your lead searches. This is incredibly useful for generating great leads.
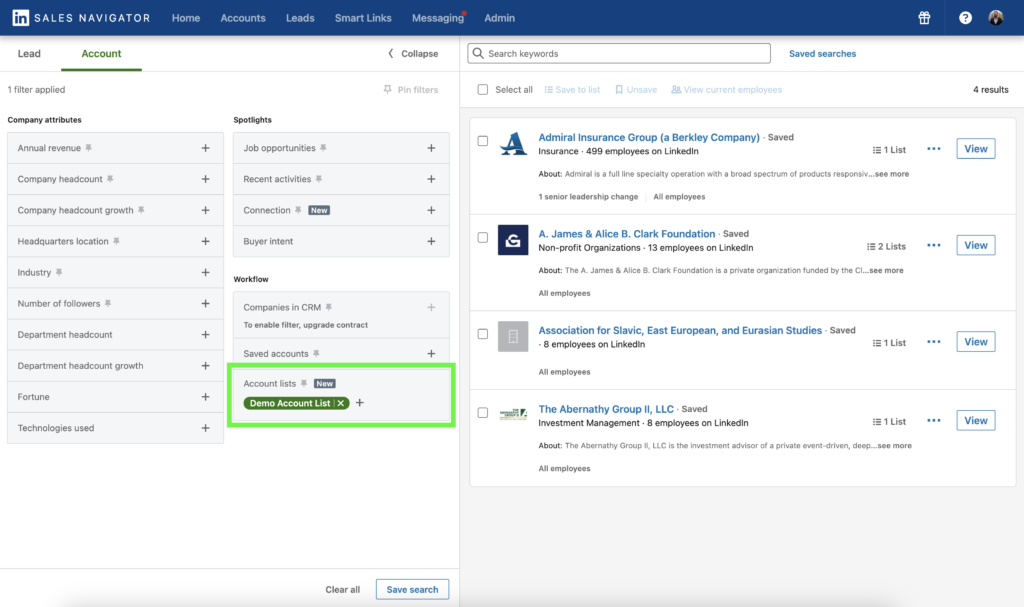
Click View in Search:

That will take you to the Account search, already filtered by your account list.
To find Linkedin users that are employees of the companies on your account list, just click Leads on the top left.
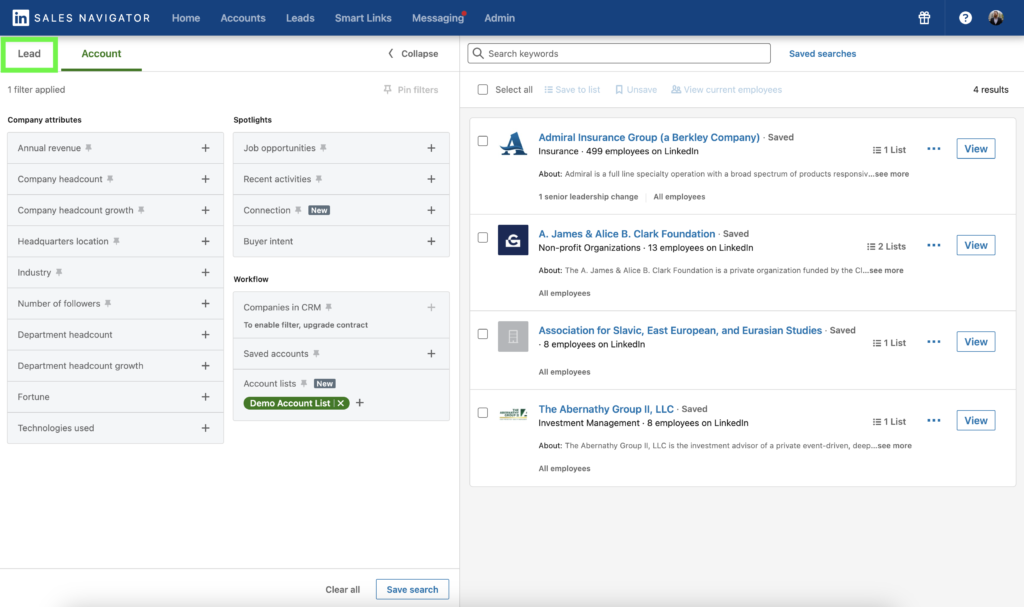
Now run your Lead search with your Account list as a filter so that you can find the best contacts to reach out to from your account list.
Conclusion
In summary, LinkedIn Sales Navigator offers a wealth of features to help sales professionals discover new leads, build relationships, and ultimately close deals. Uploading your account list to LinkedIn Sales Navigator is an effective way to streamline your sales prospecting process, focus on high-priority targets and improve your overall sales strategy. By following the steps outlined in this blog post and incorporating best practices, you’ll be well on your way to leveraging the full potential of LinkedIn Sales Navigator to drive better sales outcomes.
For one-on-one help with your lead generation, web development, data management, or automations, schedule a call with Lead Nectar. They can guide you through the process and help you maximize the potential of this and many other tools for your specific needs and goals.


